COPYRIGHT © 2022 NingBo COFF Machinery Co., ltd. ALL RIGHTS RESERVED
Menu
Categories
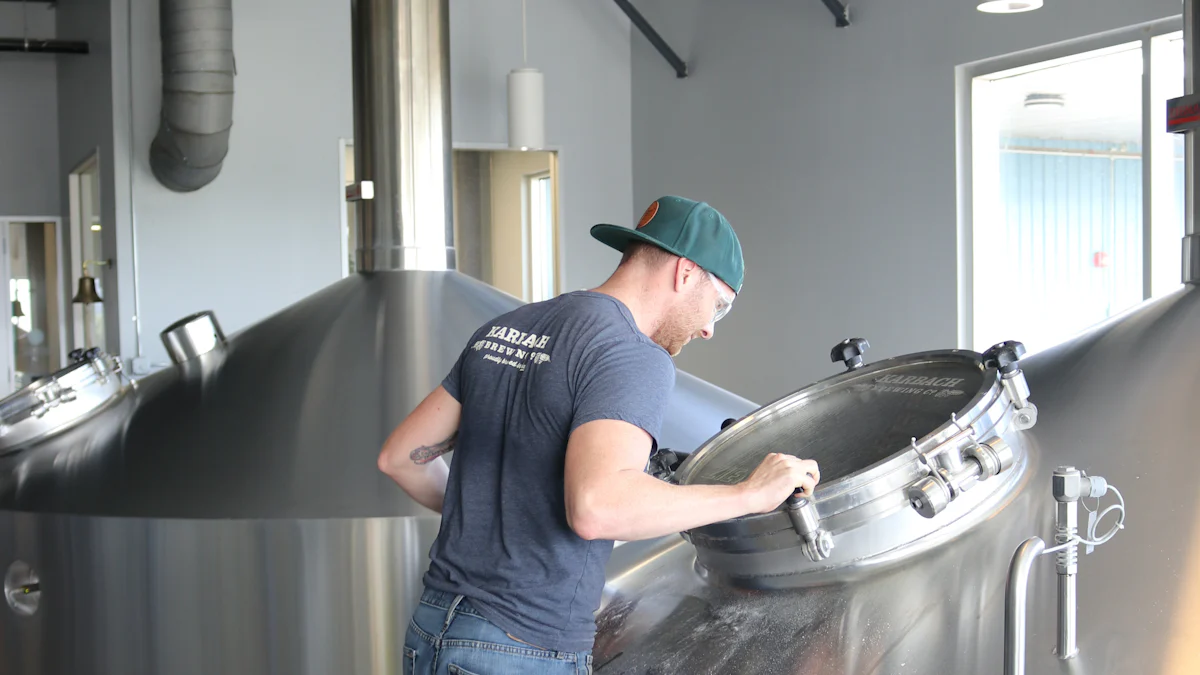
Imagine crafting your own beer right at home, savoring each sip of a brew you created. Homebrewing offers a unique blend of creativity and science, allowing you to explore flavors and techniques. Whether you’re curious about how to brew beer or eager to dive into the brewing process, this guide will walk you through the basic steps. You’ll learn how to make beer with ease, transforming simple ingredients into a delightful beverage. Embrace the joy of beer home brew and start your journey to brew your own beer today!
Key Takeaways
- Start your homebrewing journey with a basic brewing kit that includes essential equipment like a fermentation vessel, airlock, and brewing kettle.
- Understand the key ingredients: malt extract provides sugars, hops add flavor and aroma, yeast is crucial for fermentation, and water quality impacts the final taste.
- Sanitation is vital; always clean and sanitize your equipment to prevent contamination and ensure a successful brew.
- Follow a step-by-step process: prepare your ingredients, brew the wort, ferment, and then bottle your beer for conditioning.
- Keep a brewing journal to track your processes, successes, and areas for improvement, helping you refine your skills over time.
- Join a homebrewing community for support, knowledge sharing, and motivation as you explore the art of brewing.
- Be patient; the entire brewing process takes about 4 to 6 weeks, but the wait will be worth it when you enjoy your homemade beer.
Essential Equipment for Beer Home Brew
Embarking on your journey to brew your own beer requires some essential equipment. Let’s dive into what you’ll need to get started.
Basic Brewing Kit
A basic brewing kit is your starting point. It includes several key components:
Fermentation Vessel
The fermentation vessel is where the magic happens. This container holds your beer as it ferments. Choose a vessel made of food-grade plastic or glass. It should have a wide mouth for easy cleaning and transferring of your brew.
Airlock and Stopper
An airlock and stopper are crucial for fermentation. The airlock allows carbon dioxide to escape while preventing contaminants from entering. Secure it with a stopper to ensure a tight seal. This setup helps maintain the integrity of your beer during fermentation.
Brewing Kettle
The brewing kettle is where you boil your wort. Look for a kettle with volume markings etched inside. Features like a ball valve and kettle strainer can make the process smoother. Silicone handles provide a safe grip, making it easier to handle hot liquids.
Additional Tools
Beyond the basic kit, a few additional tools will enhance your brewing experience:
Thermometer
A thermometer is essential for monitoring temperatures during brewing. Accurate temperature control ensures that your yeast ferments properly, affecting the flavor and quality of your beer.
Hydrometer
A hydrometer measures the gravity of your brew. It helps you determine when fermentation is complete and calculates the alcohol content. This tool is a must-have for any homebrewer aiming for precision.
Bottling Equipment
Once your beer is ready, you’ll need bottling equipment. This includes bottles, caps, and a capper. Proper bottling ensures your beer stays fresh and carbonated until you’re ready to enjoy it.
With these tools and equipment, you’re well on your way to mastering the art of beer home brew. Remember, each piece plays a vital role in the brewing process, helping you create a delicious beverage to savor.
Key Ingredients for How to Brew Beer
When you decide to brew your own beer, understanding the key ingredients is crucial. Each component plays a vital role in shaping the flavor, aroma, and overall character of your brew. Let’s explore these essential ingredients.
Malt Extract
Malt extract serves as the backbone of your beer. It provides the fermentable sugars that yeast will convert into alcohol. You can choose between liquid or dry malt extract, depending on your preference. The malt extract also contributes to the color and body of your beer. When selecting malt extract, consider the style of beer you want to create. For a lighter beer, opt for a pale malt extract. For a richer, darker brew, choose a darker malt extract.
Hops
Hops are the spice of your beer. They add bitterness, flavor, and aroma, balancing the sweetness of the malt. Different hop varieties offer unique characteristics. For instance, some hops give a crisp, citrusy flavor, while others provide a more earthy or floral note. When learning how to brew beer, experiment with different hop combinations to find the perfect balance for your taste. Remember, hops also act as a natural preservative, helping to extend the shelf life of your beer.
Yeast
Yeast is the powerhouse behind fermentation. It consumes the sugars in the wort and produces alcohol, carbon dioxide, and flavors. The choice of yeast can significantly impact the taste of your beer. Some yeasts produce fruity or spicy notes, while others create a clean, crisp finish. Always ensure your yeast is fresh and properly stored. Before using, rinse it to remove any potential contaminants. This step is especially important if you’re reusing yeast from a previous batch.
With these key ingredients, you’re well-equipped to start your brewing adventure. Each ingredient offers a world of possibilities, allowing you to craft a beer that’s uniquely yours. Dive into the process, experiment with different combinations, and enjoy the journey of creating your own brew.
Water
Water forms the foundation of your beer. It makes up about 90-95% of the final product, so its quality significantly impacts the taste and clarity of your brew. When you brew your own beer, pay attention to the water’s mineral content and pH level. These factors can influence the flavor profile and fermentation process.
Mineral Content: Different minerals in water can enhance or detract from the flavors of your beer. For instance, calcium helps with yeast health and clarity, while magnesium can add a slight bitterness. If your tap water has high levels of chlorine or other unwanted minerals, consider using a water filter or bottled spring water.
pH Level: The pH of your brewing water should ideally be between 5.2 and 5.6. This range supports optimal enzyme activity during mashing, which is crucial for converting starches into fermentable sugars. You can adjust the pH by adding brewing salts or acids if necessary.
Water Treatment: Before starting the brewing process, treat your water to remove any impurities. Boiling the water can help eliminate chlorine, while activated carbon filters can remove other contaminants. Ensuring clean water will lead to a cleaner-tasting beer.
By understanding and managing the water you use, you can enhance the overall quality of your homebrew. Remember, great beer starts with great water. Dive into the details, experiment with different water profiles, and enjoy the journey of crafting your perfect brew.
Importance of Sanitation in Home Brewing
When you decide to brew your own beer, maintaining proper sanitation is crucial. It ensures that your beer remains free from unwanted microbes and contaminants, which can spoil the taste and quality of your brew. Let’s explore why sanitation matters and how you can properly sanitize your equipment.
Why Sanitation Matters
Sanitation plays a vital role in home brewing. It prevents the growth of harmful bacteria and wild yeast that can ruin your beer. These unwanted microorganisms can introduce off-flavors, cloudiness, and even spoilage. By keeping your brewing environment clean, you ensure that only the yeast you add will ferment the sugars in your wort.
Microbial Safety in Homebrewing highlights the importance of sanitation. Proper hygiene practices are essential to ensure the cleanliness and safety of your final product. This means that every piece of equipment that comes into contact with your beer must be thoroughly sanitized.
How to Properly Sanitize Equipment
To achieve a successful brew, you must know how to properly sanitize your equipment. Here’s a simple guide to help you maintain a clean brewing environment:
Clean First: Before sanitizing, clean all your equipment with warm water and a mild detergent. This removes any visible dirt or residue. Rinse thoroughly to ensure no soap remains.
Choose a Sanitizer: Use a no-rinse sanitizer specifically designed for brewing. These sanitizers kill bacteria and yeast without leaving harmful residues. Follow the manufacturer’s instructions for dilution and contact time.
Sanitize Everything: Immerse or spray all equipment that will touch your beer, including fermentation vessels, airlocks, stoppers, and bottling tools. Allow them to air dry on a clean surface.
Maintain Cleanliness: Keep your brewing area tidy. Wipe down surfaces with a sanitizing solution and wash your hands frequently. This reduces the risk of contamination during the brewing process.
By following these steps, you can ensure that your home brewing experience is both safe and successful. Remember, a little effort in sanitation goes a long way in producing a delicious and enjoyable beer.
Step-by-Step Process to Brew Beer at Home
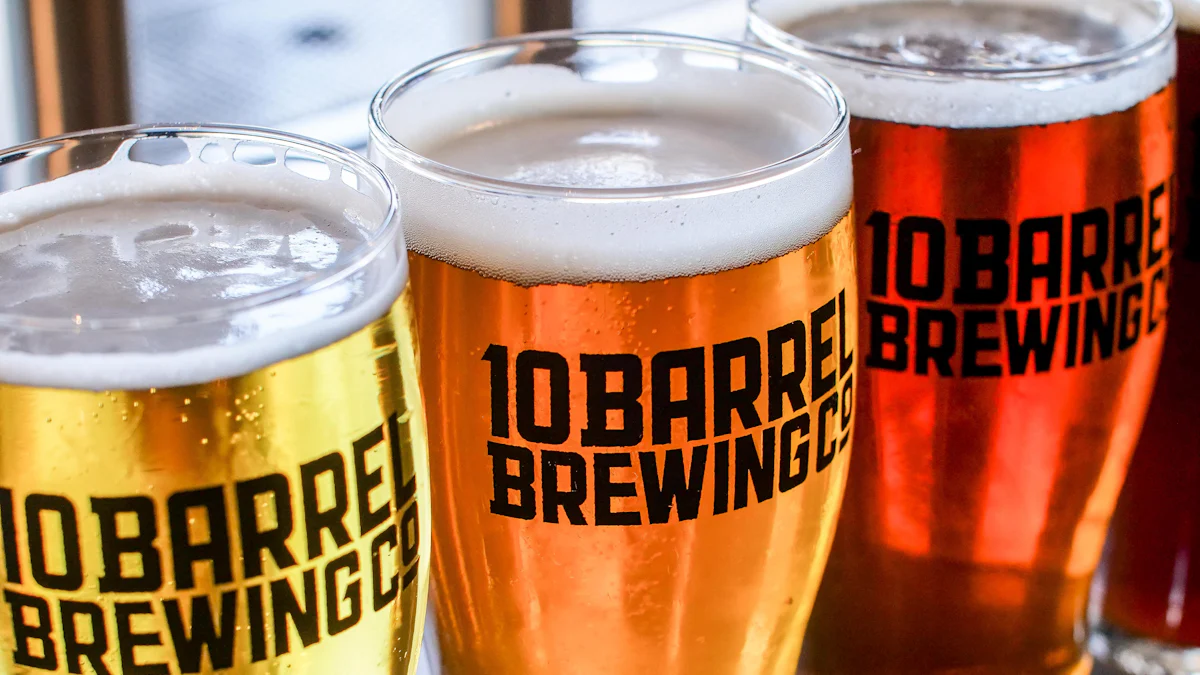
Embarking on the journey to brew your own beer can be both exciting and rewarding. This step-by-step guide will walk you through the basic steps of the brewing process, ensuring you create a delicious brew right in your kitchen.
Preparation
Before you dive into the brewing process, preparation is key. Here’s what you need to do:
Gather Equipment and Ingredients
First, gather all your equipment and ingredients. You’ll need your fermentation vessel, airlock, brewing kettle, thermometer, hydrometer, and bottling equipment. Make sure you have your malt extract, hops, yeast, and water ready. Having everything at hand will streamline the process and prevent any last-minute scrambles.
Sanitize Everything
Sanitation is crucial in home brewing. Cleanliness ensures that your beer remains free from unwanted microbes that can spoil its flavor. Use a no-rinse sanitizer to clean all your equipment. This includes your fermentation vessel, airlock, and any tools that will come into contact with your brew. Remember, good hygiene is essential to avoid beer contamination.
Brewing
Now that you’re prepared, it’s time to start brewing. Follow these steps to make your wort, the unfermented beer.
Boil the Wort
Begin by boiling your water in the brewing kettle. Once it reaches a rolling boil, add your malt extract. Stir continuously to prevent scorching. This step is crucial as it extracts flavors and sterilizes the wort.
Add Hops
After the malt extract has dissolved, it’s time to add hops. Hops contribute bitterness, flavor, and aroma to your beer. Add them according to your recipe, and let them boil for the specified time. This step is where you can experiment with different hop varieties to find your preferred taste.
Fermenting
With your wort ready, the next step is fermentation. This is where the magic happens, transforming your wort into beer.
Transfer to Fermentation Vessel
Carefully transfer your cooled wort into the fermentation vessel. Use a sanitized funnel or siphon to avoid contamination. Ensure the vessel is sealed with an airlock to allow gases to escape while keeping contaminants out.
Add Yeast
Finally, add your yeast to the wort. This is the powerhouse of the brewing process, converting sugars into alcohol and carbon dioxide. Seal the vessel and store it in a cool, dark place. Allow the fermentation to take place over the next few weeks.
By following these steps to making beer, you’ll be well on your way to enjoying your very own homebrew. Remember, patience is key during fermentation. Let the yeast work its magic, and soon you’ll have a delightful brew to savor.
Bottling
Once your beer has completed fermentation, it’s time to bottle it. This step is crucial for preserving the flavor and carbonation of your brew. Follow this step-by-step guide to ensure a smooth bottling process.
Prepare Bottles
Clean and Sanitize: Start by cleaning your bottles thoroughly. Use warm water and a bottle brush to remove any residue. After cleaning, sanitize the bottles using a no-rinse sanitizer. This step is vital to prevent contamination and ensure your beer remains fresh and tasty. Remember, good hygiene is essential to avoid beer contamination.
Inspect for Damage: Check each bottle for cracks or chips. Damaged bottles can break under pressure, leading to wasted beer and potential injury. Only use bottles in perfect condition to ensure safety and quality.
Gather Supplies: Have your caps and capper ready. Ensure they are also sanitized. Having everything prepared will make the bottling process more efficient and enjoyable.
Transfer Beer to Bottles
Siphon Carefully: Use a sanitized siphon to transfer your beer from the fermentation vessel to the bottles. Avoid disturbing the sediment at the bottom of the vessel. This helps maintain the clarity and taste of your beer.
Leave Headspace: Fill each bottle, leaving about an inch of headspace at the top. This space allows for carbonation to develop without risking bottle explosions.
Cap Securely: Once filled, place a sanitized cap on each bottle and use the capper to seal it tightly. Proper sealing ensures that your beer remains carbonated and fresh until you’re ready to enjoy it.
By following these steps, you’ll successfully bottle your own beer, ready to be savored at your leisure. Remember, patience is key. Allow your bottled beer to condition for a few weeks before tasting. This waiting period enhances the flavors and carbonation, making your homebrew even more delightful.
How Long Does It Take to Make Beer?
Brewing your own beer is a rewarding journey, but it requires patience. The timeline can vary depending on the type of beer and your brewing method. Let’s break down the time commitment into three main stages: brewing, fermentation, and bottling and conditioning.
Brewing Time
The brewing process itself is relatively quick. You’ll spend about 3 to 4 hours on brew day. This includes preparing your ingredients, boiling the wort, and adding hops. It’s a hands-on experience where you’ll see the transformation of raw ingredients into a promising brew. Make sure you have all your equipment ready and follow the steps carefully to ensure a smooth brewing day.
Fermentation Time
Fermentation is where the magic happens, but it takes time. Typically, you’ll need to let your beer ferment for 1 to 2 weeks. During this period, yeast converts sugars into alcohol and carbon dioxide. It’s crucial to maintain a stable temperature and avoid disturbing the fermentation vessel. Patience is key here, as rushing this stage can affect the flavor and quality of your beer.
Bottling and Conditioning Time
Once fermentation is complete, it’s time to bottle your beer. This step takes about 1 to 2 hours, depending on the batch size. After bottling, your beer needs to condition for another 2 to 4 weeks. This allows the flavors to mature and the carbonation to develop. Store your bottles in a cool, dark place and resist the urge to open them too soon. The wait will be worth it when you finally taste your perfectly brewed beer.
In total, expect the entire process to take around 4 to 6 weeks from start to finish. While it may seem like a long time, each stage is essential for crafting a delicious homebrew. Enjoy the journey and look forward to savoring the fruits of your labor.
Common Challenges and Mistakes in Home Brewing
Homebrewing can be a rewarding hobby, but it comes with its own set of challenges. Understanding these common pitfalls will help you brew your own beer successfully and enjoy the process.
Temperature Control
Temperature control is crucial in homebrewing. Yeast, the powerhouse of fermentation, thrives within specific temperature ranges. If the temperature is too high, your beer might develop off-flavors. Too low, and fermentation could stall. To maintain the right temperature:
- Monitor Regularly: Use a reliable thermometer to keep track of your brew’s temperature.
- Choose the Right Spot: Find a cool, stable environment for fermentation. Avoid areas with direct sunlight or fluctuating temperatures.
- Consider Equipment: Invest in a temperature-controlled fermentation chamber if possible. This ensures consistent conditions for your brew.
Pro Tip: “Proper temperature control ensures your beer maintains its intended flavor profile,” says a professional brewer.
Inadequate Sanitation
Sanitation is the backbone of successful homebrewing. Any lapse can introduce unwanted bacteria or wild yeast, spoiling your beer. Here’s how to avoid this mistake:
- Clean Thoroughly: Before sanitizing, clean all equipment with warm water and a mild detergent.
- Use No-Rinse Sanitizers: These are designed for brewing and leave no harmful residues.
- Sanitize Everything: Ensure every tool that touches your beer is sanitized, from fermentation vessels to bottling equipment.
Remember: “Proper bottling ensures beer maintains its taste, is adequately carbonated, and won’t spoil,” emphasizes a seasoned brewer.
Incorrect Measurements
Precision is key in homebrewing. Incorrect measurements can lead to imbalanced flavors or inconsistent alcohol content. To get it right:
- Use Accurate Tools: Invest in a good scale and measuring cups for precise ingredient quantities.
- Follow Recipes Closely: Stick to the recipe, especially when you’re starting out. As you gain experience, you can experiment more.
- Double-Check: Always double-check your measurements before adding ingredients to your brew.
By being mindful of these common challenges, you can enhance your homebrewing experience. Each step you take towards precision and care brings you closer to crafting a beer you’ll be proud to share.
Tips for Successful Home Brewing
Embarking on the journey to brew your own beer can be both exciting and rewarding. To ensure success, consider these valuable tips that will enhance your home brewing experience.
Keep a Brewing Journal
Keeping a brewing journal is a game-changer for any homebrewer. Documenting each step of your brewing process helps you track what works and what doesn’t. Record details like the ingredients used, brewing times, temperatures, and any adjustments made. This practice allows you to replicate successful batches and learn from any mistakes. Over time, your journal becomes a treasure trove of insights, guiding you to perfect your craft.
Experiment with Flavors
One of the joys of homebrewing is the freedom to experiment with flavors. Don’t hesitate to try different combinations of hops, malts, and yeasts. You might discover a unique taste that sets your brew apart. Consider adding fruits, spices, or herbs to create seasonal or specialty beers. Remember, experimentation is key to finding your signature brew. Just make sure to note your experiments in your brewing journal for future reference.
Join a Homebrewing Community
Joining a homebrewing community can significantly enhance your brewing journey. These communities offer a wealth of knowledge and support. You can share experiences, ask questions, and get feedback on your brews. Many communities host events, workshops, and competitions, providing opportunities to learn and grow. Being part of a community also connects you with fellow enthusiasts who share your passion for brewing.
Pro Tip: “Engaging with a community can provide invaluable insights and motivation,” says an experienced homebrewer.
By following these tips, you’ll not only improve your brewing skills but also enjoy the process more. Embrace the creativity and camaraderie that come with home brewing, and soon you’ll be crafting beers that you and others will love.
Promoting COFF Home Brewing Kits
When you decide to brew your own beer, choosing the right equipment can make all the difference. COFF Home Brewing Kits offer everything you need to start your brewing journey with confidence and ease. Let’s explore why COFF stands out and what makes their kits a top choice for homebrewers.
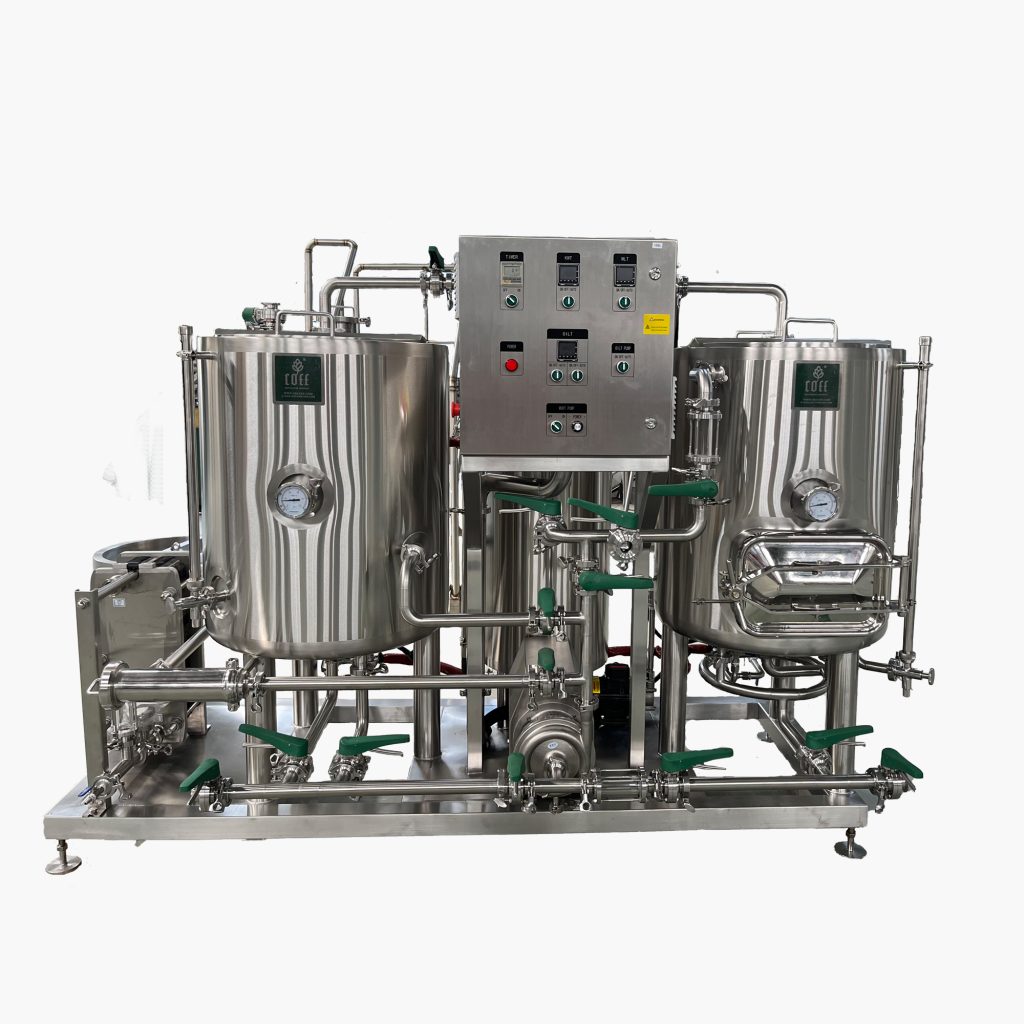
Why Choose COFF?
COFF Home Brewing Kits are designed with both beginners and experienced brewers in mind. Here’s why you should consider COFF for your brewing needs:
Quality Craftsmanship: COFF prides itself on producing high-quality brewing equipment. Each component is crafted with precision to ensure durability and reliability. You can trust that your COFF kit will withstand the rigors of brewing, batch after batch.
Comprehensive Kits: COFF kits include all the essential tools you need to get started. From fermentation vessels to bottling equipment, everything is included. This means you won’t have to worry about missing any crucial pieces when you begin brewing.
User-Friendly Design: The kits are designed to be intuitive and easy to use. Even if you’re new to brewing, you’ll find the instructions clear and straightforward. COFF makes it simple to brew your own beer at home.
Features of COFF Kits
COFF Home Brewing Kits come packed with features that enhance your brewing experience:
Stainless Steel Construction: The brewing kettles and fermentation vessels are made from high-grade stainless steel. This ensures your equipment is resistant to corrosion and easy to clean, maintaining the purity of your brew.
Precision Tools: Each kit includes a thermometer and hydrometer, allowing you to monitor your brew with accuracy. These tools help you achieve the perfect balance of flavors and alcohol content.
Customizable Options: COFF offers kits that cater to different brewing styles and preferences. Whether you want to brew a light lager or a robust stout, there’s a COFF kit tailored to your needs.
Customer Testimonials
Don’t just take our word for it—here’s what some of our satisfied customers have to say about COFF Home Brewing Kits:
“I was new to brewing, and COFF made it so easy. The kit had everything I needed, and the quality was top-notch. My first batch turned out great!” — Alex T.
“I’ve tried other kits before, but COFF stands out. The equipment is durable, and the instructions are clear. I love experimenting with different recipes using my COFF kit.” — Jamie L.
“COFF has made brewing at home a breeze. The customer service is excellent, and the kit is worth every penny. Highly recommend it to anyone looking to start brewing.” — Chris M.
Choosing COFF means investing in a reliable and enjoyable brewing experience. With their high-quality kits and supportive community, you’ll be well on your way to crafting delicious homebrew that you can proudly share with friends and family.
Congratulations on reaching the end of your beer home brew journey! You’ve learned the essential steps and tips to brew your own beer, from selecting ingredients to mastering the brewing process. Now, it’s time to put your knowledge into action. Embrace the creativity of homebrewing by experimenting with different recipes and flavors. Each batch offers a new opportunity to refine your skills and enjoy the fruits of your labor. Remember, COFF Home Brewing Kits provide the perfect tools to support your brewing adventures. Start brewing today and savor the satisfaction of crafting your own delicious beer.
FAQ
What is the easiest way to start brewing beer at home?
Starting with an Extract Beer Kit is the easiest way to begin your homebrewing journey. These kits simplify the process by using malt extract, which eliminates the need for mashing grains or boiling wort. This method helps you hone basic brewing skills with minimal equipment.
How much time does it take to brew beer at home?
The entire brewing process, from start to finish, typically takes about 4 to 6 weeks. This includes a few hours on brew day, 1 to 2 weeks for fermentation, and another 2 to 4 weeks for bottling and conditioning.
What equipment do I need to brew beer at home?
You’ll need a basic brewing kit that includes a fermentation vessel, airlock, brewing kettle, thermometer, hydrometer, and bottling equipment. For beginners, the Standard Extract Brewing Kit provides all the necessary tools to get started.
How important is sanitation in homebrewing?
Sanitation is crucial in homebrewing. It prevents contamination from unwanted microbes that can spoil your beer. Always clean and sanitize all equipment before use to ensure a successful brew.
Can I experiment with different flavors when brewing beer?
Absolutely! One of the joys of homebrewing is experimenting with flavors. Try different combinations of hops, malts, and yeasts. You can also add fruits, spices, or herbs to create unique brews.
Why should I choose COFF Home Brewing Kits?
COFF Home Brewing Kits offer high-quality craftsmanship and comprehensive tools for both beginners and experienced brewers. Their user-friendly design and durable materials make them a top choice for anyone looking to brew their own beer.
How do I know when fermentation is complete?
Use a hydrometer to measure the gravity of your brew. When the gravity remains stable over a few days, fermentation is likely complete. This tool helps ensure your beer has reached the desired alcohol content.
Is it necessary to join a homebrewing community?
While not necessary, joining a homebrewing community can greatly enhance your experience. You’ll gain access to valuable knowledge, support, and feedback from fellow brewers. It’s a great way to learn and grow in your brewing journey.
What are the benefits of extract brewing?
Extract brewing is beginner-friendly and cost-effective. It requires less equipment and simplifies the brewing process, making it an ideal choice for those new to homebrewing. It’s a great way to introduce yourself to the hobby without a steep learning curve.

